
How to Eat Acorns - Easy Step-by-Step Photo Tutorial from Forest to Table

Every autumn, I really enjoy mentioning to people that I am harvesting and processing acorns for food.
It’s a lot of fun to observe the reactions that I get, which range from confused disbelief, to “aren’t they toxic to humans?” all the way over to “oh my god, how have I gone my whole life without ever knowing that you could do that?!”
Like most of my peers, I also knew nothing of eating acorns until well into adulthood. I studied plant taxonomy and ecology in college, and for all I learned about the Quercus genus, the fact that their nuts are easily rendered edible to humans somehow never came up.
Neither did we ever discuss the fact that humans all around the globe have consumed acorns as a staple in their diets since well before recorded history. For some indigenous peoples, like those of California where I currently reside, acorns could make up as much as half of their total caloric intake in a year. (M. Kat Anderson, Tending the Wild)
Why have we modern humans mostly abandoned the art of eating acorns? That’s a very complex question, as it turns out, that has everything to do with the history of colonization and imperialism. But I digress.
While the oak-dominated ecosystems that now surround us are but remnants of their former magnificence, countless species of oaks are still present in nearly every nook and cranny of the world’s temperate ecosystems, patiently awaiting the care and reverence that we once bestowed upon them.
Though some would have you believe that acorns are best left to the squirrels, I can promise you that your local stand of oaks will produce in such abundance most years that you can ethically gather a year’s supply for your household without harming the other acorn-eaters in your vicinity. In a good year, a single mature Valley Oak can produce up to 2,000 pounds (!!!) of acorns. That’s plenty for everybody.
Acorns are a gift, offered so freely and abundantly that it’s no wonder why entire belief systems have been constructed around the sacred nature of the oak.

Eating acorns is a surprisingly simple but enormously satisfying undertaking. The following tutorial represents the simplest and easiest methods I’ve found for working with acorns. This is just one of many ways to process acorns, but I think it’s the best place to begin.
To be honest, there is a lot of really bad information online about how to process acorns, most of it written as though it was regurgitated from one blog to another with little or no hands-on experience backing up any of it. I hope to clear up some common misconceptions here, based on my own first-hand experiences coupled with rigorous research I’ve done over the years.
This guide is meant to be a very brief overview of how to cold-leach your acorns in order to remove the tannins which make raw acorns inedible (and are also responsible for the dry/puckery mouth feel of red wine).
Though it stands alone as its own tutorial, this guide also serves as a quick companion piece to my much larger, in-depth podcast lecture on the art of eating acorns, which you can listen to here.
All acorns can be leached of their tannins; similarly, all acorns must be leached of tannins — there is no acorn that can be eaten raw, even if it seems especially sweet and not too bitter. (Samuel Thayer, Nature’s Garden)
That said, some acorns will be more preferable than others, mostly due to shape and size. You will have to do a little research to find out what species of oaks are present in your area.
How to Process Acorns for Eating: The Cold-Leach Method
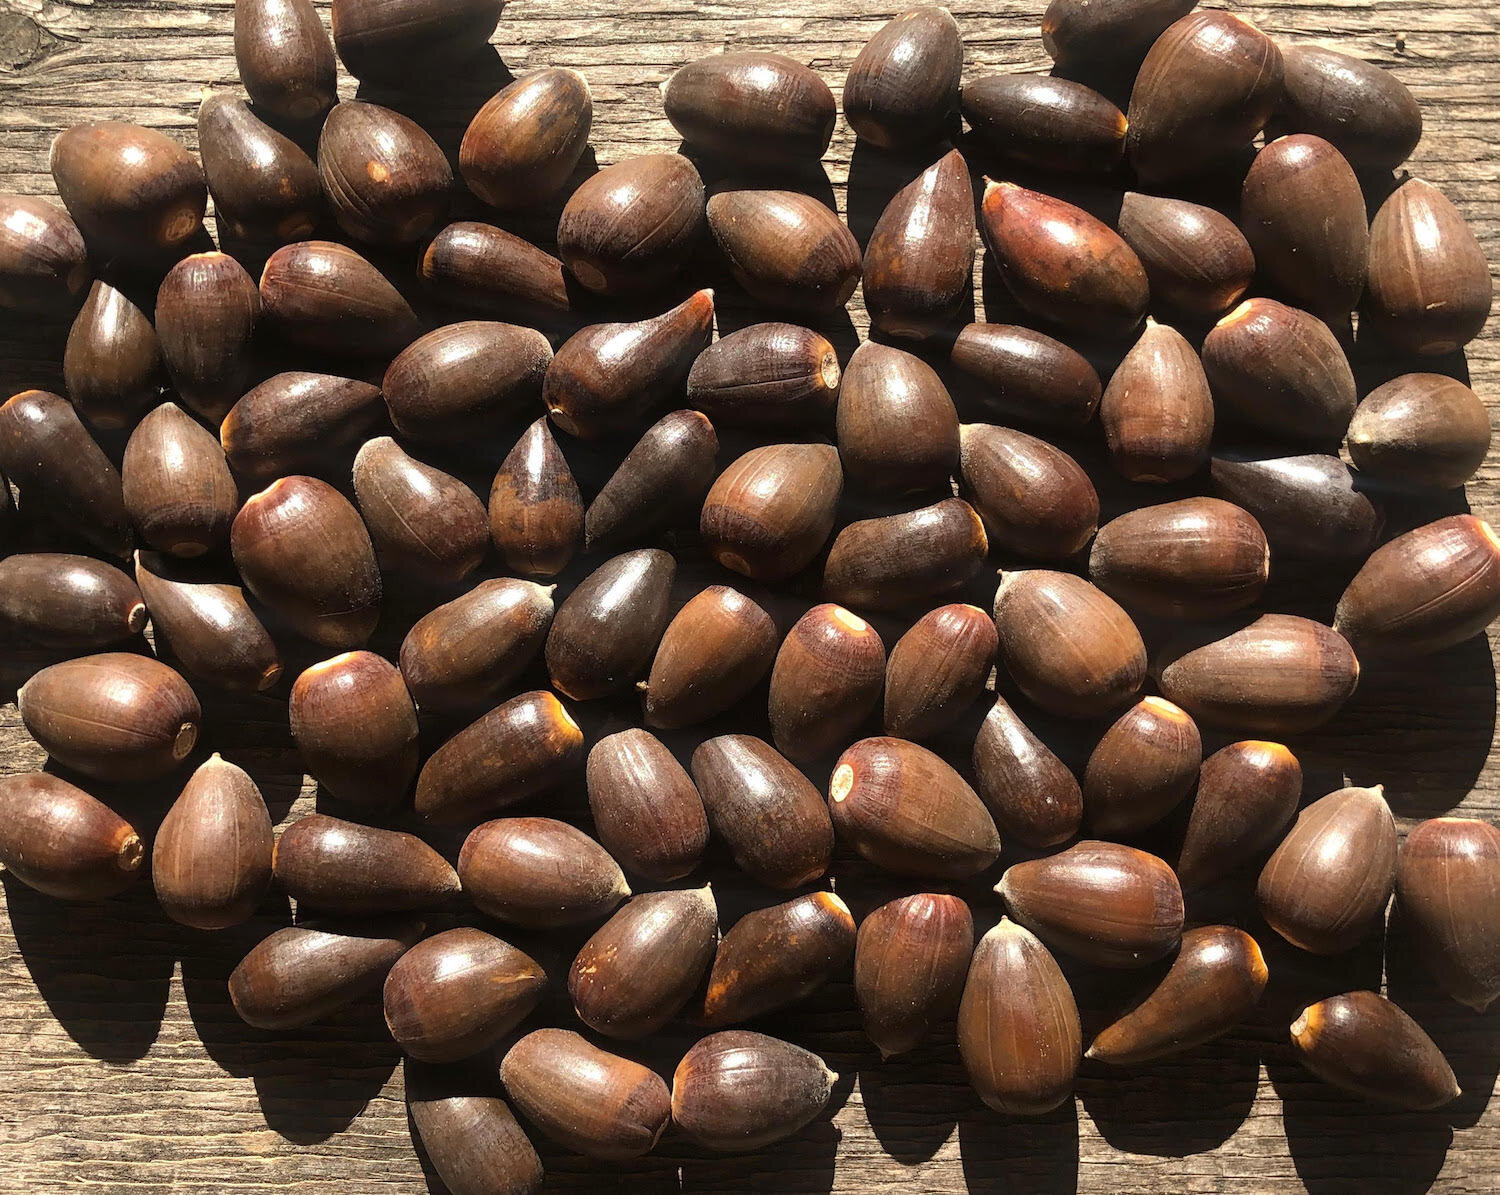
1. Gather and sort your acorns.

Some people sort while gathering out in the field; others prefer to gather quickly and sort at home.
I like to take my time in the woods and inspect each nut that I pick up for telltale signs that they’re no good.
What are the bad signs I’m looking for?
cap firmly attached — this means the acorn was aborted by the tree before it was mature
pencil lead-sized weevil hole — indicates that an acorn weevil has already consumed the nutmeat and exited the shell
bulging, sunken, and/or cracked disk (where cap attaches to nut) — all signs of potential bacterial/fungal infection
dark streaks or discoloration on the shell — same as above, can indicate bacteria or fungus

Weevil holes like these are one of the most common issues you’ll encounter while gathering acorns.
A good, healthy acorn will have a somewhat glossy, more or less uniformly colored shell with a creamy tan-yellow nut inside that slightly resembles a peanut.
I would encourage you to periodically crack open a couple nuts as you’re gathering to get a sense of what they might look like on the inside.
2. Dry your acorns.
If you plan to store your acorns for more than a couple weeks then drying them is a crucial step. It’s not necessary if you plan to eat all of your acorns fresh, but a properly dried acorn will have a shell that’s much easier to crack and nutmeat that’s much easier to extract than its fresh counterpart, so you might still want to dry your nuts even if you’re not planning to store any.
To dry your acorns, you will need to maximize surface area to ensure enough airflow between the nuts. Lay your acorns out one nut deep on flat, shallow trays — anything from a baking sheet to the lid of a plastic tote can work — and set them out in the sun, or in a sunny window indoors, or in the dry heat of an attic, or adjacent to a wood stove if you happen to have one of those.
If you leave them outdoors in the sun, you might need to take precautions to keep squirrels et al. at bay. This might look like some kind of mesh covering, or maybe just a dog who likes chasing small mammals. No matter the case, be sure to bring your acorns indoors at night to avoid them becoming covered in morning dew and nullifying the whole drying process.
The amount of time it takes for your acorns to dry will depend on a wide range of factors, and some varieties of acorns will dry much more quickly than others. Some white oak acorns will essentially never dry completely.
The average ballpark estimate will be a couple weeks on average, but like said, this can vary widely between varieties, techniques, and climates. You will have to experiment with your local acorns to find out what works best — or if you’re lucky, you might be able to pick the brain of a more experienced forager in your area to save yourself some trial-and-error.
3. Shell your acorns.

This should be pretty straightforward: crack open the shell and extract the nutmeat inside. How you go about doing that is largely a matter of personal preference — I personally enjoy a heavy mallet, but you might opt for a big rock or a legitimate nut-cracking tool.
If you dried your acorns first, the shell should crack pretty easily and the slightly shriveled nutmeat will easily fall out. If still fresh, you might find yourself picking through bits of shells and chunks of nutmeat.
As you shell your nuts, you might notice the nutmeat changing color from creamy tan-yellow to a darker red-brown. This is the natural process of oxidation, just like when you cut open an avocado — the precious fatty acids are being exposed to oxygen for the first time. Don’t worry if your nuts turn dark while you’re still shelling them, just be sure to process them further as soon as possible so they don’t go rancid.
As you’re removing the shells, you might also notice the testa, a flaky, papery membrane that surrounds the nutmeat much like a peanut. This layer is especially high in tannins, so it’s worthwhile to remove it during this step if it comes off easily. If not, it will still be floated out during the leaching process.
4. Grind your acorns.
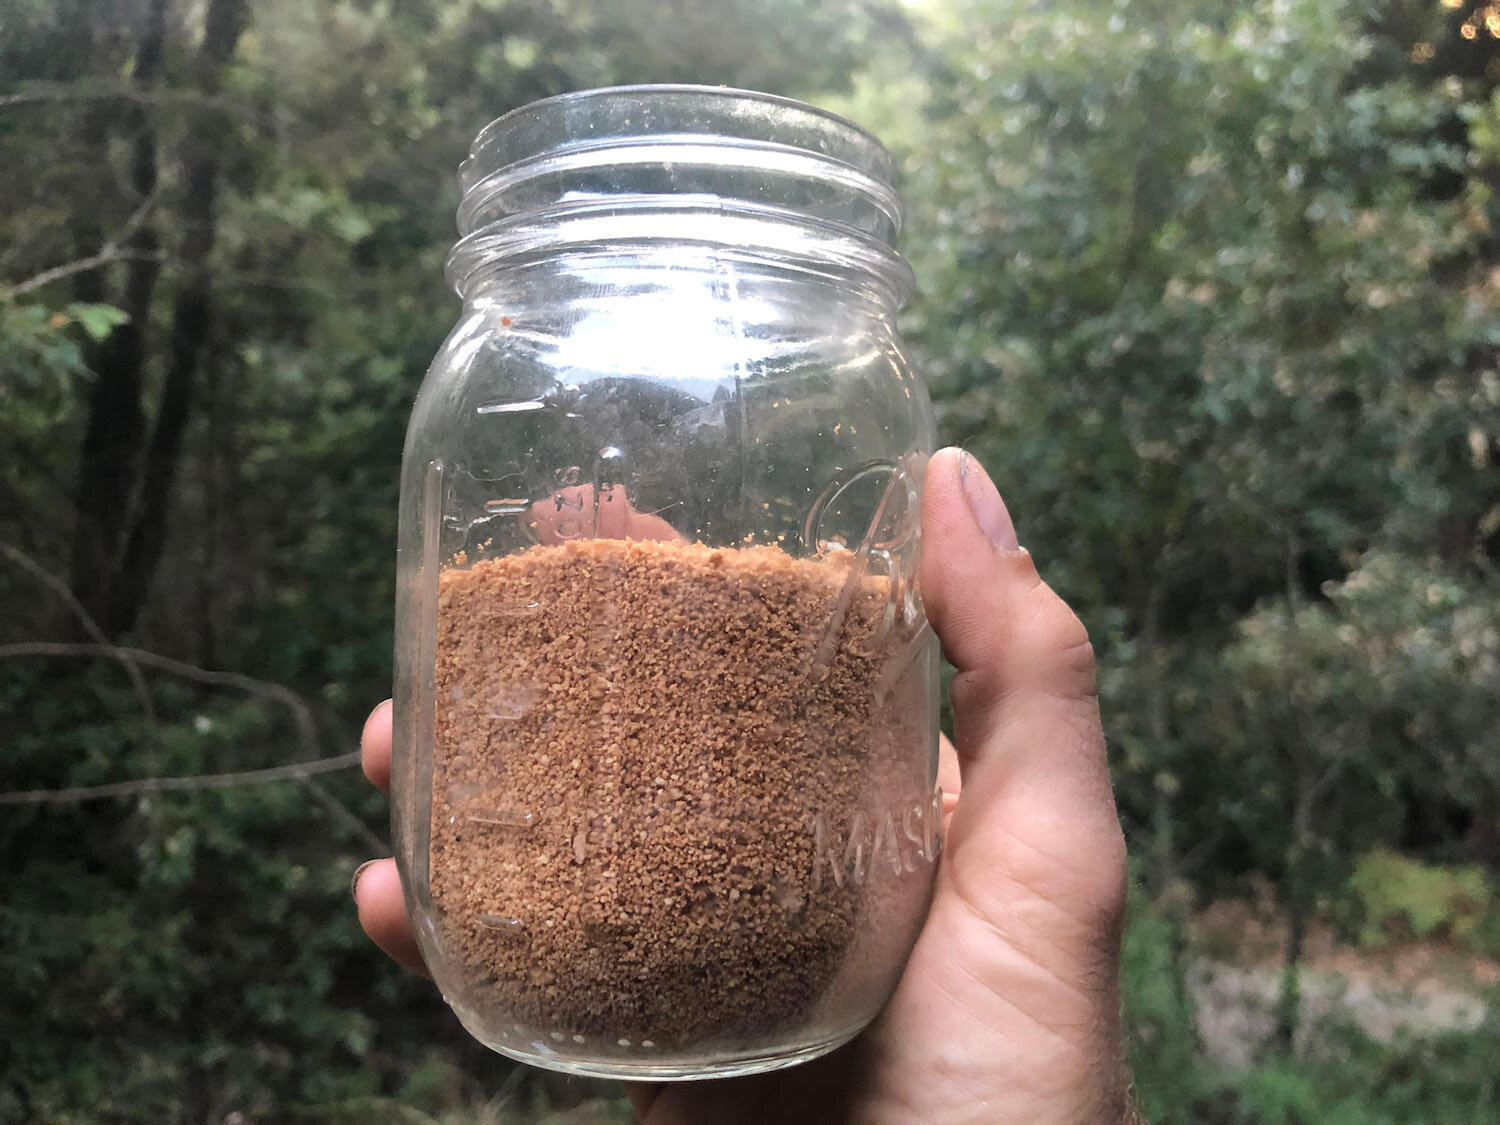
When grinding acorns, you want your final product to be as fine and as uniform as possible — this will ensure that the leaching process goes quickly and smoothly. Again, this is yet another step where your method will depend on your preferences or what’s available to you. You could go old-school with a mortar and pestle, or step your game up with a corn mill, or a heavy-duty food processor like the Vitamix if you are so equipped. I generally process small batches at a time so I stick to my little handheld coffee grinder which does the trick just fine.
5. Leach out the tannins.

Tannins are the compounds in acorns that make them taste bitter and astringent. Your mouth will tell you when something is too tannic to consume by drying out to the point of pretty serious discomfort as you’re chewing it up. Large quantities of tannins can do real damage to your digestive system, so it’s very important not to rush through this step.
Thankfully, tannins are water-soluble, meaning they can be extracted from your acorn meal simply by rinsing it with water several times. This can be done with hot or cold water, and both have their pros and cons, but I think cold leaching is the simplest and therefore best place to start. (I should note here that if you intend to hot leach your acorns, you will want to coarsely chop them rather than grinding them in the previous step. But hot leaching deserves its own tutorial so I won’t go any deeper into that process here.)
In order to separate the tannins from the acorns, we need maximum surface area for the water to come in contact with, which means the finer your powder, the faster this part will go.
Take your freshly ground acorn meal and pour it into a mason jar with an equal amount of water. Shake vigorously, then place in your fridge or a cool dark corner of your kitchen and allow the contents to settle. The jar will soon stratify so that the acorn meal settles to the bottom, while the dark tannin-rich water rises to the top.
Pour this off after a few hours, being careful not to pour off too much of the starch layer in between, then add more water and repeat the process until the acorn meal is no longer bitter to the taste. On average this may take a few days and several changes of water. It’s always best to do it more than you think you need to.
Sometimes the water will run clear when the tannins are gone, but not always. This is another place where local variation makes all the difference. The water that I leach my local acorns with remains cloudy well after the acorn meal is no longer bitter, but I’ve seen it run clear with other varieties.
Your taste buds will let you know. It should not be bitter at all when it’s done.
6. Eat your acorns!
With the tannins leached out, your acorn meal is now fully edible, as is. You might choose to strain off the excess liquid for a clay-like dough ball, but if you’re planning to cook something that calls for water anyway then it’s not really necessary.
Your acorn meal will keep for several days in the fridge before it begins to ferment. This isn’t necessarily a bad thing — some folks love to ferment with acorn meal! Otherwise, it will keep in the freezer for many months.
It is also possible to make a bona fide dried flour out of acorn meal by dehydrating it at a very low temperature to avoid cooking it. This will keep for a couple weeks in the fridge, but will quickly go rancid at room temperature.
Acorns lend themselves well to both sweet and savory applications. Try subbing in acorns for some portion of conventional flour in breads, cookies, muffins, and pancakes, or add it to oatmeal, soups, or stews.
My go-to daily acorn fix comes in the form of this oatmeal that I love to make. Here’s the basic recipe:
Sam Sycamore’s Pumpkin Spice Acorn Oatmeal
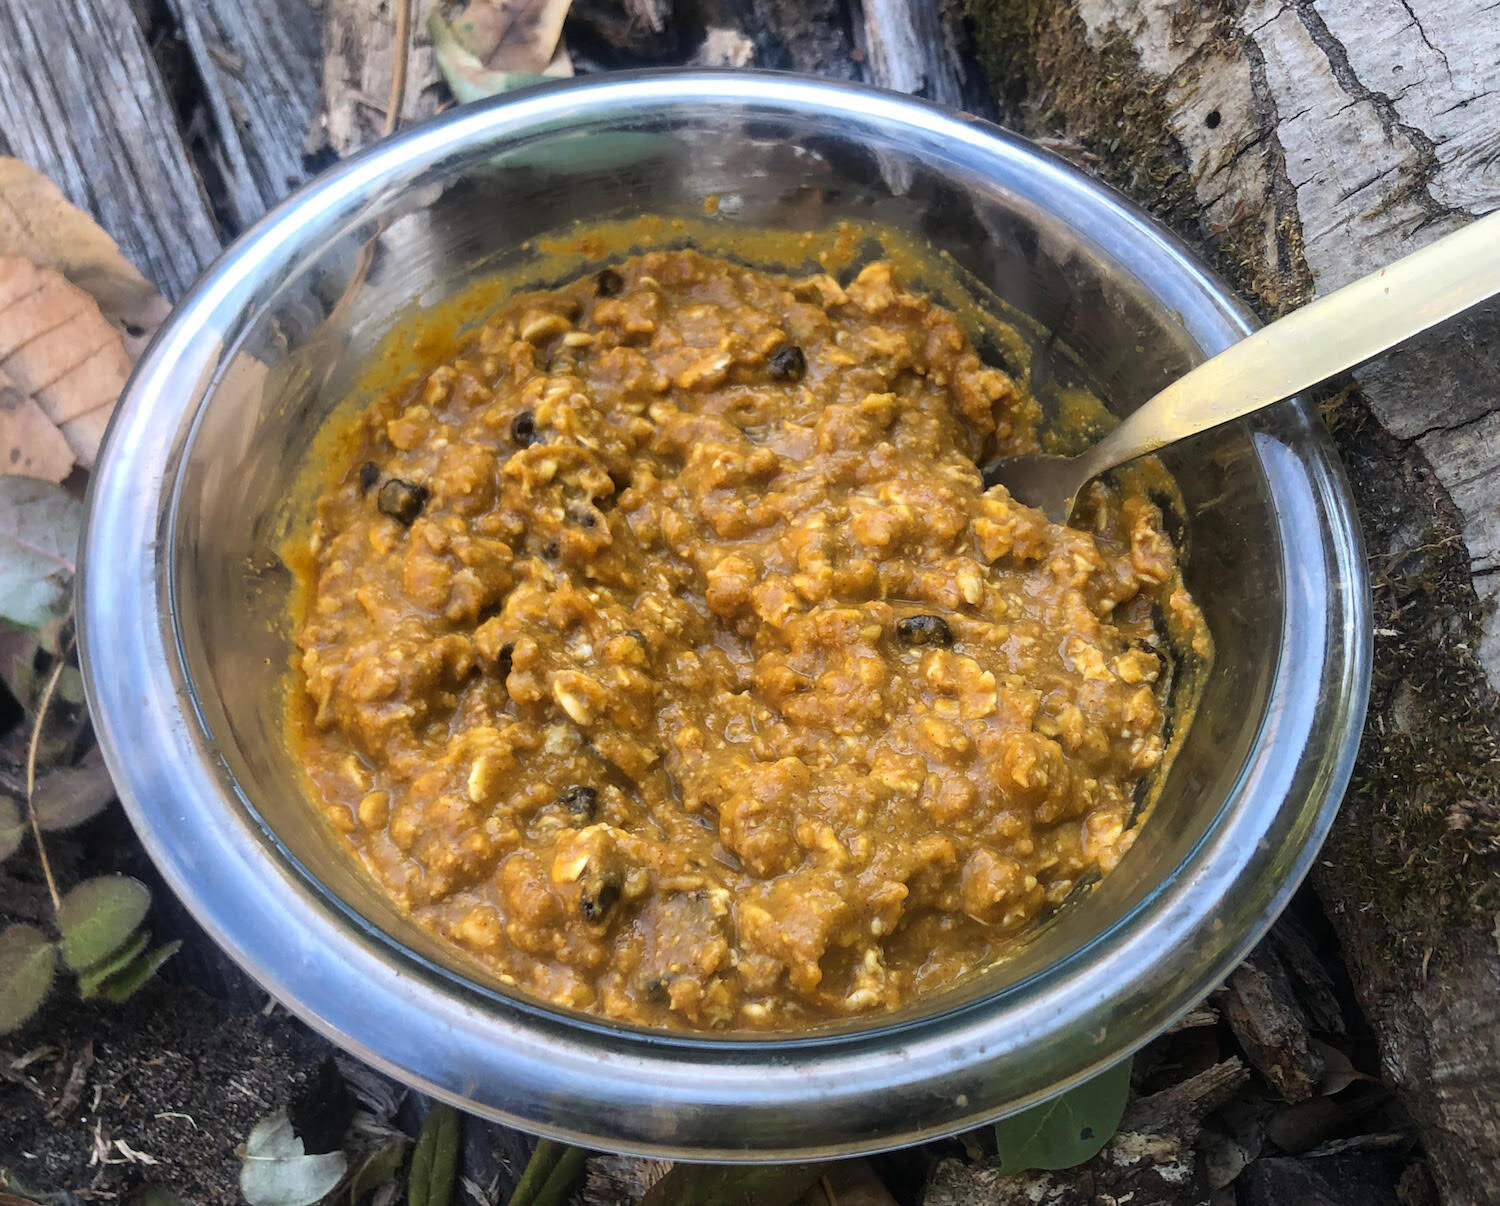
Ingredients:
4-6 oz oats
4 oz wet acorn flour
Handful of walnuts
1/2 can pumpkin - not pie mix! (could use fresh pumpkins while they’re in season)
Other nuts/seeds/whatever is on hand - flax, chia, hemp, pumpkin seeds, raisins, etc.
Maple syrup to taste
Cinnamon to taste
Pinch of salt
Directions:
Mix together wet acorn flour with oats in a pot; add additional water if necessary.
Heat to a low simmer, just for a few minutes to cook the oats, stirring frequently.
Add everything else, stir some more and enjoy!
I hope you’ve found this tutorial helpful. If you have any questions, please don’t hesitate to leave them in the comments section below!
Note: this post contains affiliate links that will lead you to products on Amazon. If you make a purchase, they give me a small cut. This is a simple way to support my work at no additional cost to you.

